
Blogging with your Bullet Journal
Back in June I decided to create a separate Bullet Journal that would be dedicated only for my blogging. I remember that I used to have second thoughts, of whether I will be able to have 2 bullet journals and manage to keep on top of them. Plus I didn't know whether I should have a daily spread on each one, or if I should have only one combining the two. Well, after having two bullet journals for almost 2 months now, I can show you how I made everything work for me. So, here's your chance to have a look into my blogging bullet journal ;)
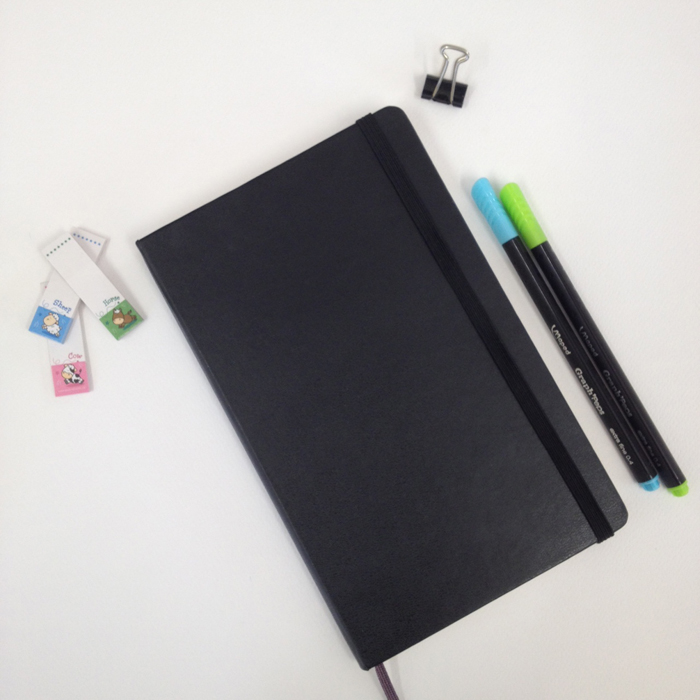
I've chosen a Moleskine Dotted Notebook in black. It has 240 pages and it's dimensions are 13x21cm. I have a post comparing it to the Leuchtturm1917 here if you're interested. I am not overly artistic in this bullet journal but I try to keep it neat and functional.
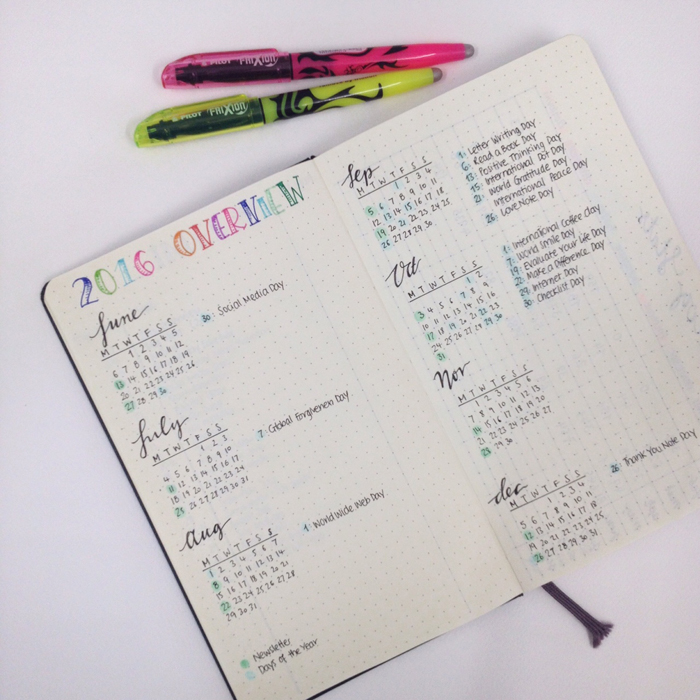
My first spread is a 2016 Overview. It starts from June, since that's when I started using this bullet journal. Here I note down some important dates, like the days that I send my Newsletter, or any other days of the year that are interesting to mention on social media, or that could inspire me to create interesting posts or spreads about.
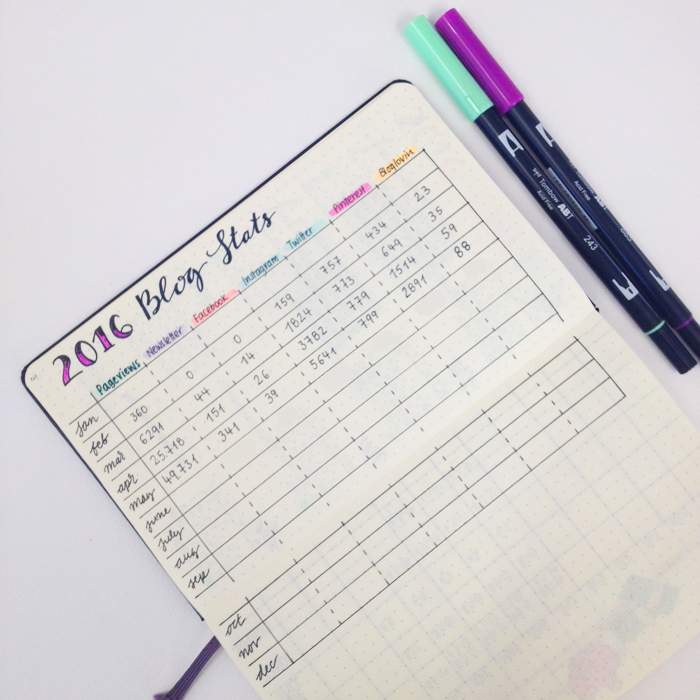
Then we move on to my Blog Stats. I like to keep track of my progress across my blog, newsletter and all social media. It helps me to be focused and motivates me to try harder.
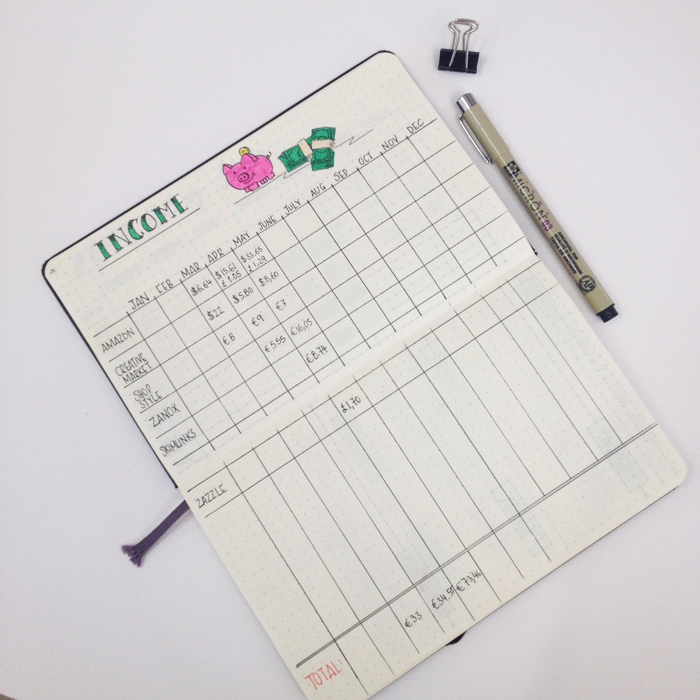
The next spread has to do with any income I make through my blog. I use affiliation links in my posts for various products and sites. They provide me with some pocket money each month, that helps me pay any expenses for my blog. If you're interested in how I monetise my website, please let me know in the comments below, so that I can make a post about it. ;)
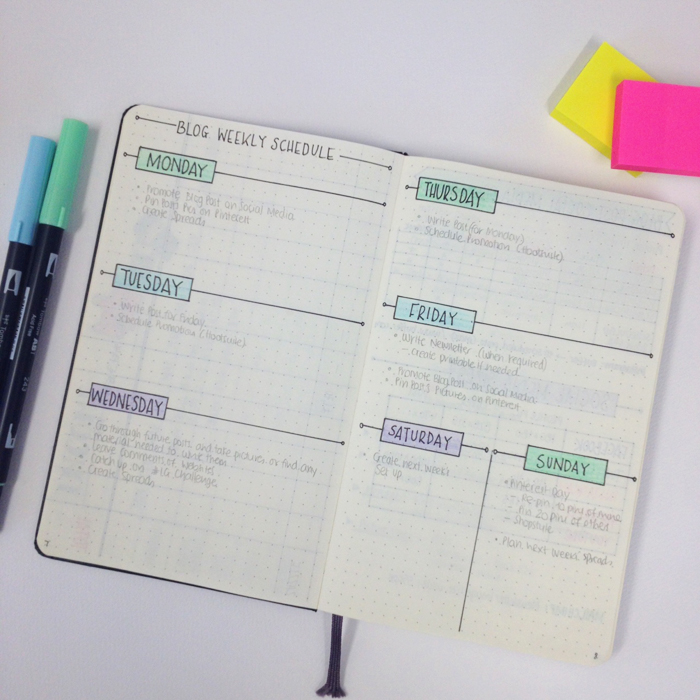
Then I created a basic weekly schedule for my blog. It helps me stay focused, but I don't necessarily follow it as it is every week. Things happen that might not allow me to have a set schedule all the time. However, I like to have a basic plan like this, so that I have a form of structure no matter what happens in my day. I still have it in pencil, since I'm not 100% sure about it yet... Keep moving things around ;)
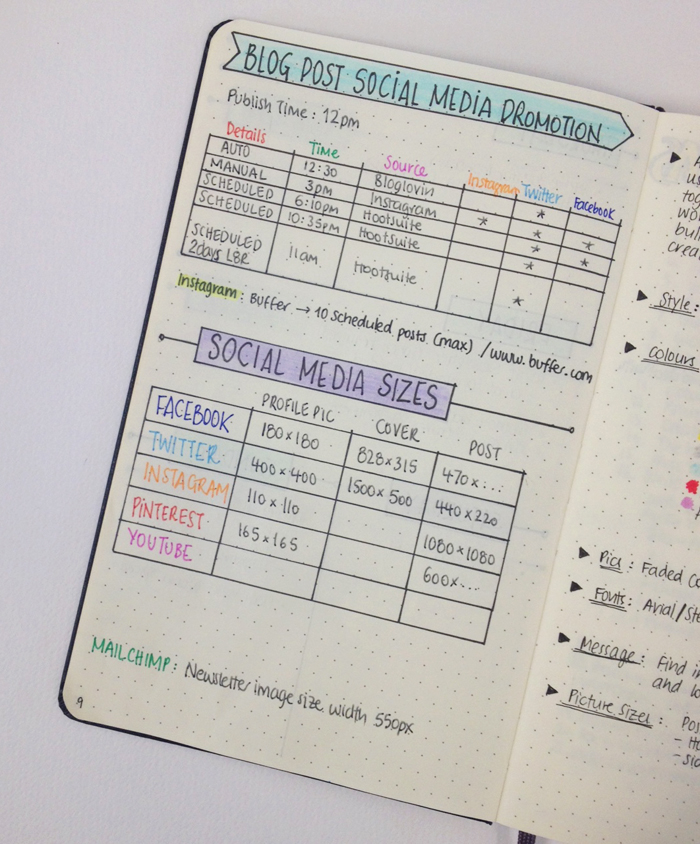
The next page has to do with social media. The top part is my promotion schedule for each post. I tend to promote each post 5 times in different times and days. So, I've created a schedule in order to plan my promotion strategy. I tend to use Hootsuite and Buffer (for Instagram).
The bottom part is a table with all the social media sizes. It is very helpful when you are creating banners or post pictures that you want to promote on different social media, where each one has different post sizes.
Note: The table shown above is a bit out of date and I'm going to change it very soon! ;)
I've created a free printable with all the social media sizes for you to download, which is already added in the Free Resources Library.
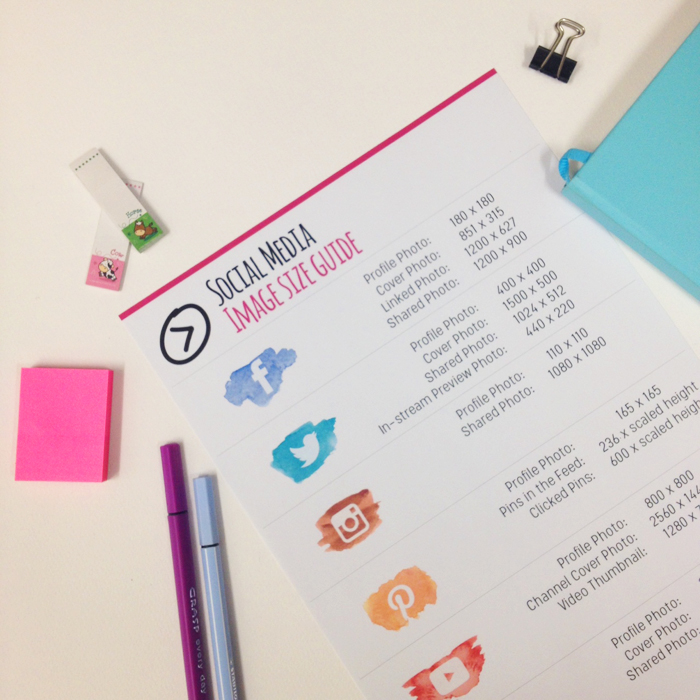
Click here to join the Newsletter and get access to the Free Printable and the Resources Library.
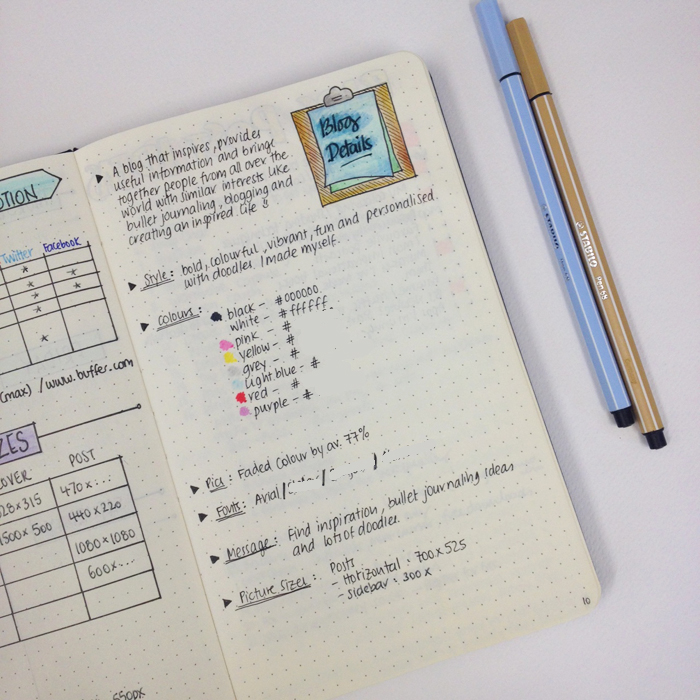
Moving further, I've created a page with all the information regarding my blog. That includes a description of what my blog is all about - sort of like a mission statement - my style, the colours I use, my fonts and the picture sizes I use on my blog (post, sidebar, pages etc.).
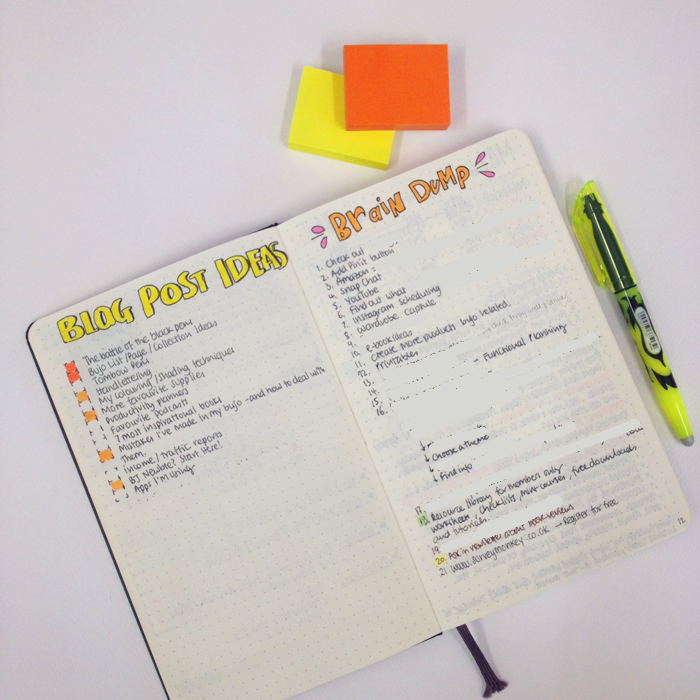
I have a list of blog post ideas, where I list any posts that I'd like to do in the future. It's very helpful as well when you're out of ideas and don't know what to write about. I also have a brain dump list, with all the things that I'd like to do, regarding my blog when I get some free time.
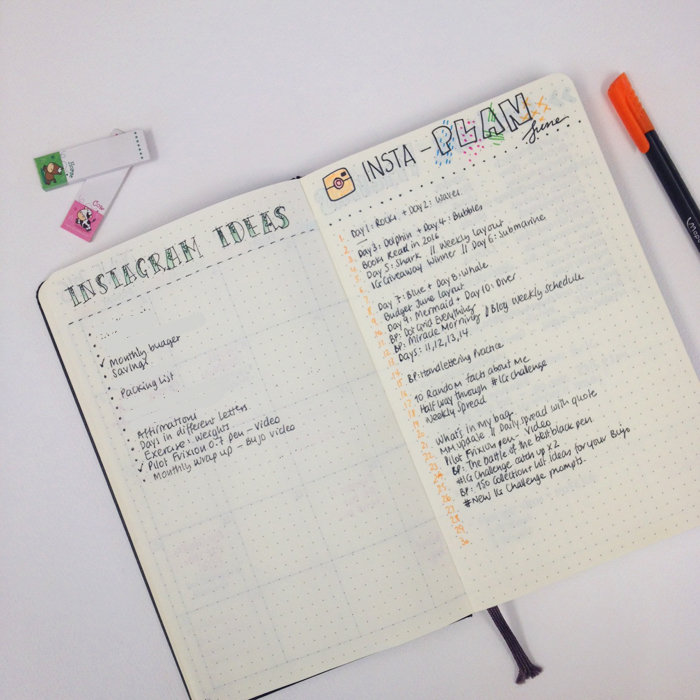
I have a spread dedicated to Instagram. On one page I write any ideas that I'd like to create and post a picture about on IG. And on the other page, I have my Insta-Plan spread that I create each month. Here I like to write down what I post each day. Sometimes I use it to plan my uploads from before. But really, I like to see what I post each month. At the end of the month, I write down next to each post the number of likes it got. This way I can see which are my most popular posts, and what my followers like to see me create and post most.
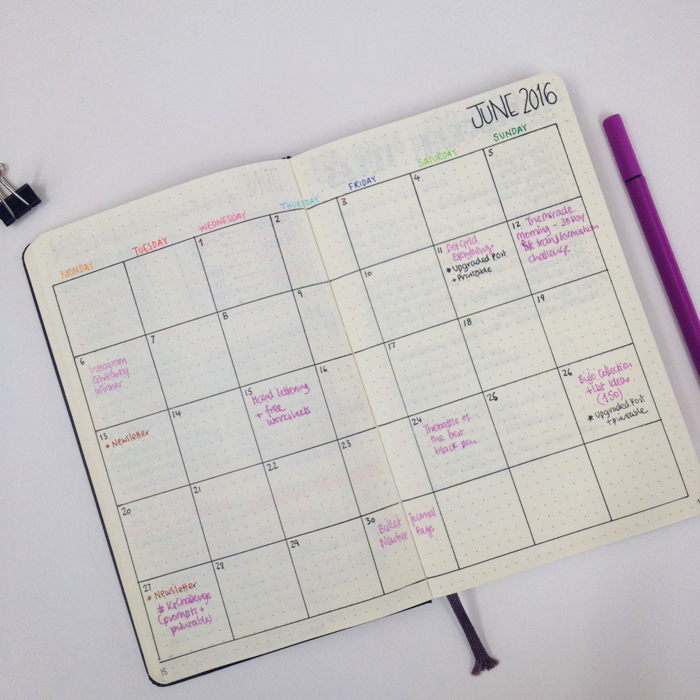
I create a month at a glance spread for each month. It is dedicated to plan my posts and my newsletters. Usually I plan all the posts for the month at the end of the previous month. However, I write everything in pencil, because I tend to change my mind or move posts around. Once a post is actually uploaded, I note it down in pen.
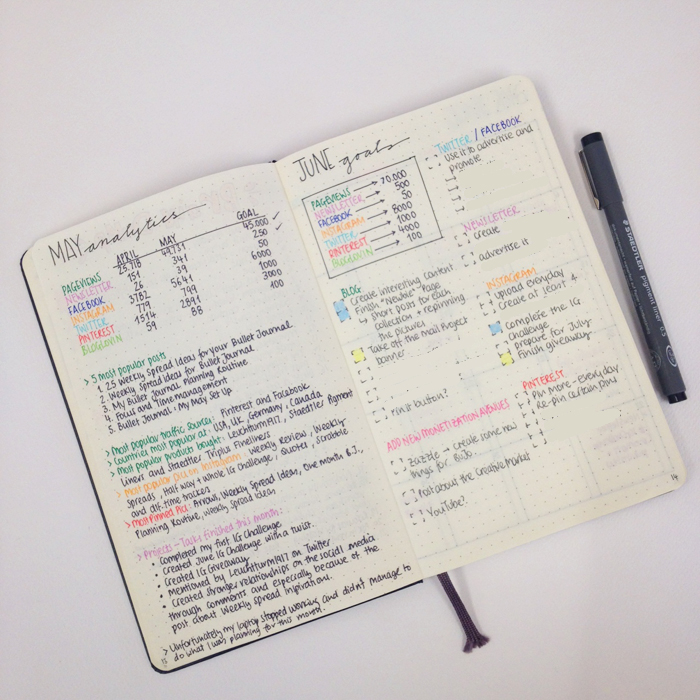
Last but not least, I create a previous month analytics for the month that just ended, and then I have my monthly goals for the month that just started. In my monthly analytics I note down all my statistics, my 5 most popular posts for the month, most popular pics on Instagram and Pinterest and all the Projects/Tasks that I finished this month. In my monthly goals I set targets for my blog and all the social media, and then I set projects/tasks for each one as well.
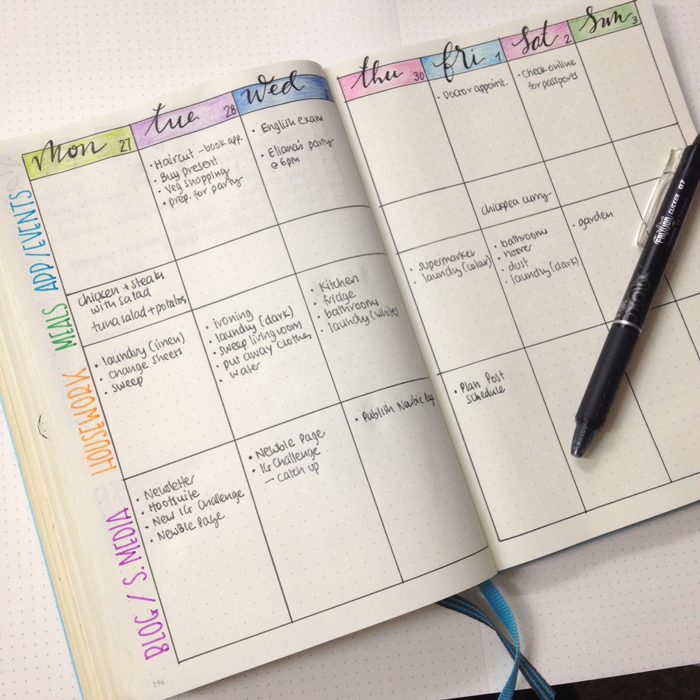
I decided to have one weekly spread combined with my personal and my blog related to-dos. I find it's better to have everything in one place. I tend to change my weekly spread around, depending on what is more important for each week, so I don't have a standard set up. In the picture above, you can see one of my weekly spreads to get an idea. :)
So, there you have it. That's how I use my bullet journal for my blog. What other spreads do you create for yours? Do you prefer to have separate bullet journals - one for your personal life and one for your work, or not?


Instagram Challenge: #DoodleWithUsInMay
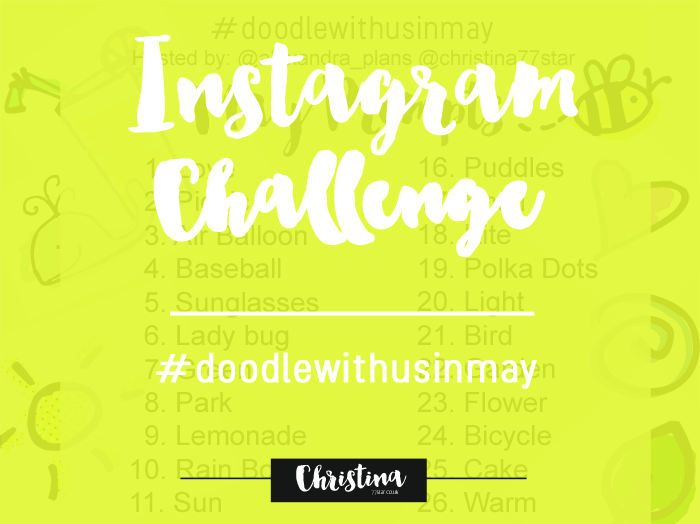
Super excited today to announce the #doodlewithusinmay Instagram Challenge! This is an Instagram Challenge that me and Alexandra, from @alexandra_plans), created together!
It's going to be 31 days of doodles that will hopefully get you to be creative and have fun! We based the words all about May and Spring. :)
If you want to join us then:
- Follow me (Christina) @christina77star and Alexandra @alexandra_plans over on Instagram.
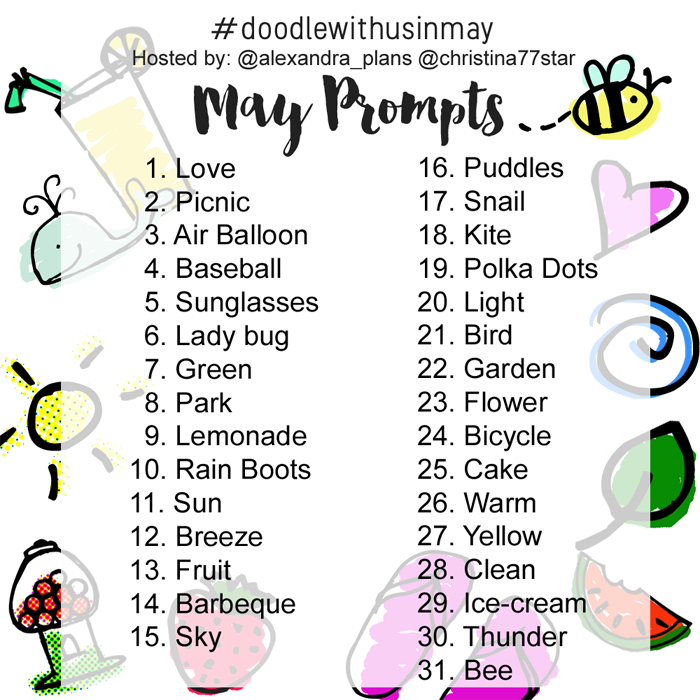
- Download the prompts below.
- Draw something according to the day's prompt, take a photo of it, and share it with us.
- Don't forget to add the hashtag #doodlewithusinmay and spread the word.
- Everyone is welcome!


How to Optimize Images for Twitter

In order to create the best blog post, you should combine excellent content and equally amazing images. Pictures are extremely important. Eye-catching graphics and photos are one of the best ways to catch the attention of your followers on social media and to also attract new audience to your site from Instagram, Pinterest, Facebook, Twitter etc. When you post high quality, original images, there's more of a chance that they'll be repinned, retweeted, or/and shared. That means more traffic driven back to your blog.
When you post an image on Twitter, it shows a preview right in your feed without having to click on any links - which is quite cool. However, the in-stream preview is a section of your image that Twitter automatically chooses to display.
Twitter’s in-stream preview is 440 pixels wide and 220 pixels tall (a 2:1 ratio).
That means that if your image's dimensions are not of a 2:1 ratio, parts of the top and bottom of your image will be cut off.


Mmmmm.... not ideal if you ask me! You can still see part of the delicious donuts, but I've completely lost my text which is very important to show what the post is all about.
So, how can you optimize your images to look good in the Twitter preview?

There are a number of ways to make sure that the in-stream preview doesn’t leave out the best parts of your picture.
- Make sure your image dimensions are a 2:1 ratio.
Even though that solves all your problems and all of your image will appear in the in-stream preview every time, however it can be quite restricting in the case you ever decide to use a portrait or a square image.
So, in that case you should:
- Pre-figure what will show in the in-stream preview.
You can easily do that by following these steps:
Find the center of your image.
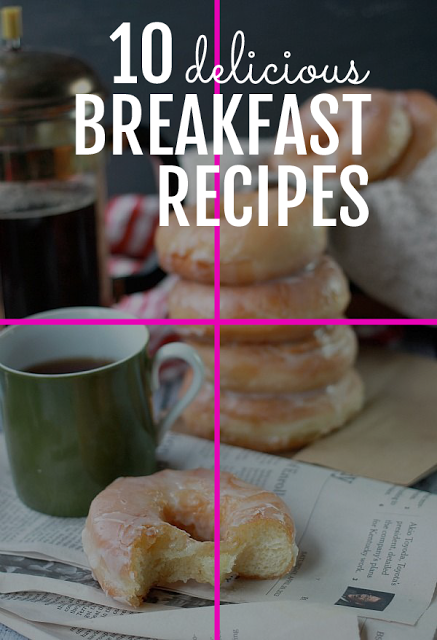
Find the 2:1 ratio of your image, in other words the dimensions of the in-stream preview.
To do that you'll have to divide your width by 2.
So for example, the dimensions of the image above are 600x878. If I divide the width (600) by 2 then the 2:1 ratio of the image shown in the preview will be 600x300.
That means 150px above and 150px below the horizontal line that crosses the center of your image.
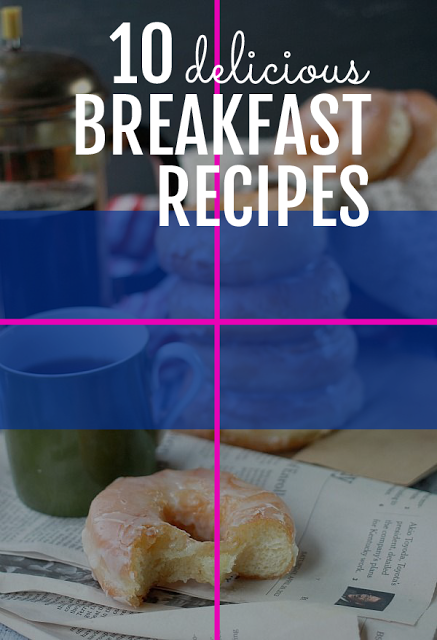
What I like to do, is create a new layer with the dimensions of the in-stream preview that I've just calculated and place it on my image. I usually choose a nice vibrant colour, but I like to also make it around 55% opaque so that I can still see what part from my original image will be shown.
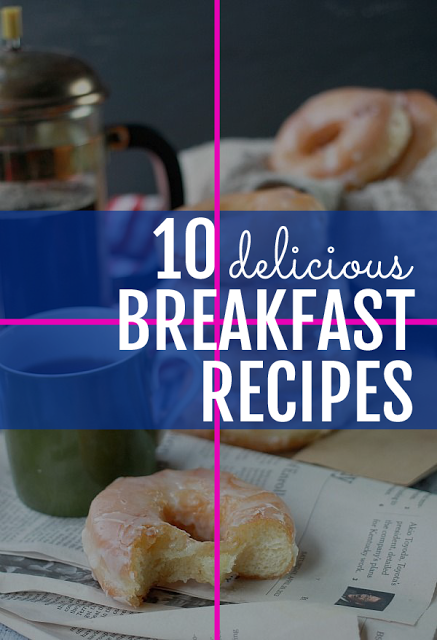
Then I move my text around so that it falls in the blue rectangle. At this point I might have to do some adjustments in size or change the font depending on the image.
Finally, I remove all the lines and the blue layer and I'm left with the perfect image for my post that is Twitter optimized!
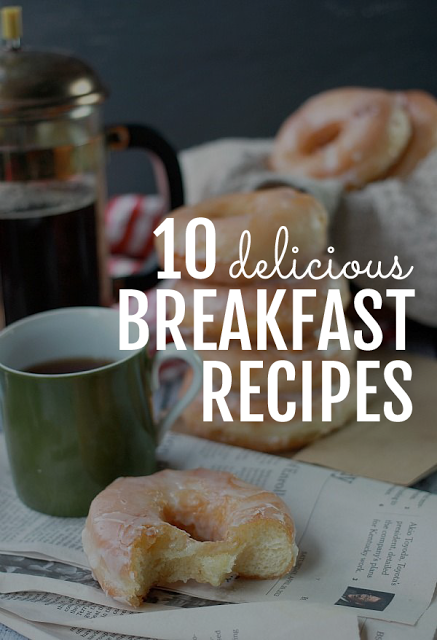
Now, when I post this image on Twitter I get this:
Which is a million times better than what I had before!


Images: 1 // 2