

My Blog Bullet Journal set up
I've talked about this in the past, and I truly believe that it's better to have one bullet journal for everything. It's easier to keep everything in one place and therefore it's less likely to get confused and frustrated going back and forth various journals. So, you might be surprised that I have created a bullet journal specifically for my blog.
I've talked about this in the past, and I truly believe that it's better to have one bullet journal for everything. It's easier to keep everything in one place and therefore it's less likely to get confused and frustrated going back and forth various journals. So, you might be surprised that I have created a bullet journal specifically for my blog.
The reason I wanted a separate notebook for that, was because I wanted a place to keep certain information and spreads that don't really change and so that I don't have to recreate every time I change a notebook. So, my to-do lists and my monthly planning for both my personal and professional life are done in my main bullet journal, while this new one will keep track of affiliations, website information, blog post ideas etc.
So, I'd like to show you how I've set up my blog bullet journal.
I decided to use my Jane's Agenda notebook that I've reviewed here.

I believe that a disc bound notebook is perfect for what I want plus it gives me the flexibility to change the order of the pages, create categories and generally change pages if I don't like them any more.
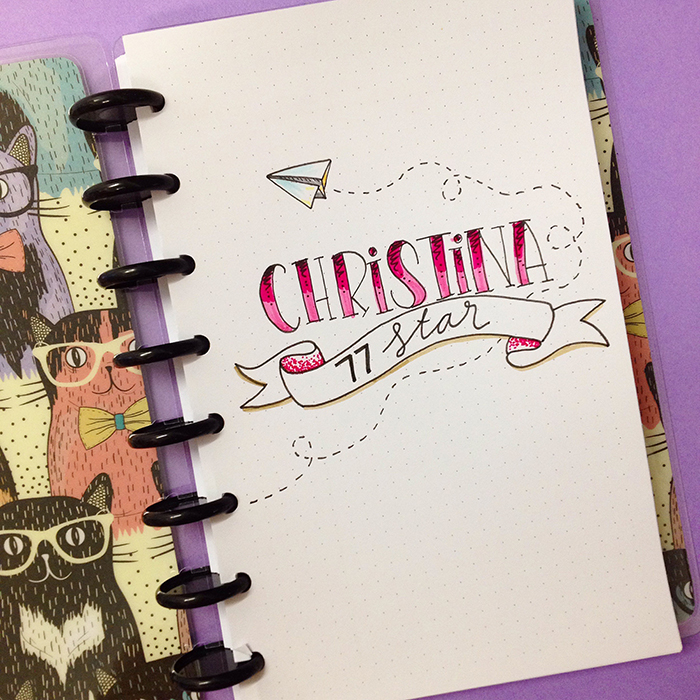
I added my logo on the first page - christina77star. And I love how it turned out. I have to say that the quality of this paper is a m a z i n g!

I had to create an index page, so I opted for something very simple. I only created one page since it's a disc bound notebook and I can add any more pages I want as time goes on.
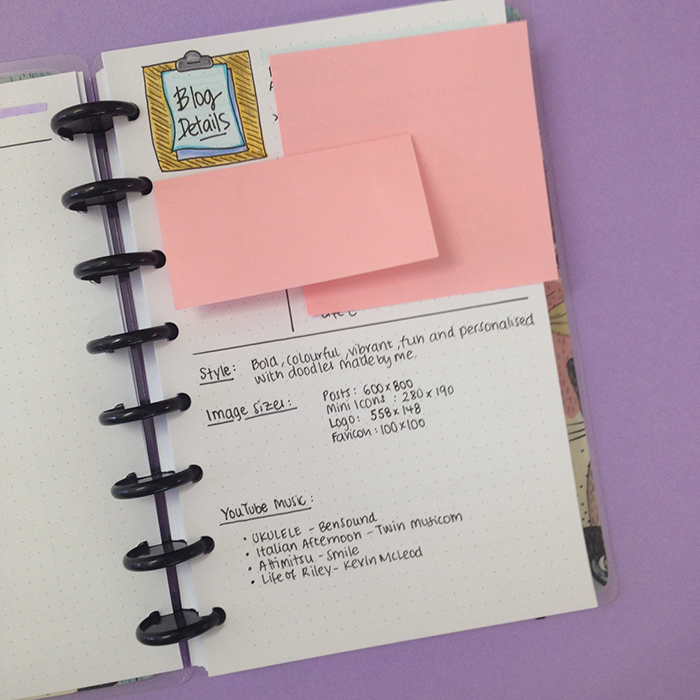
Then I have a page with all the blog information. Some description paragraphs, SEO, Fonts, Social Media information, Image size, the codes of the colours I'm using for my brand etc. Some of the information I wasn't very comfortable sharing with you, so I had to cover them up.
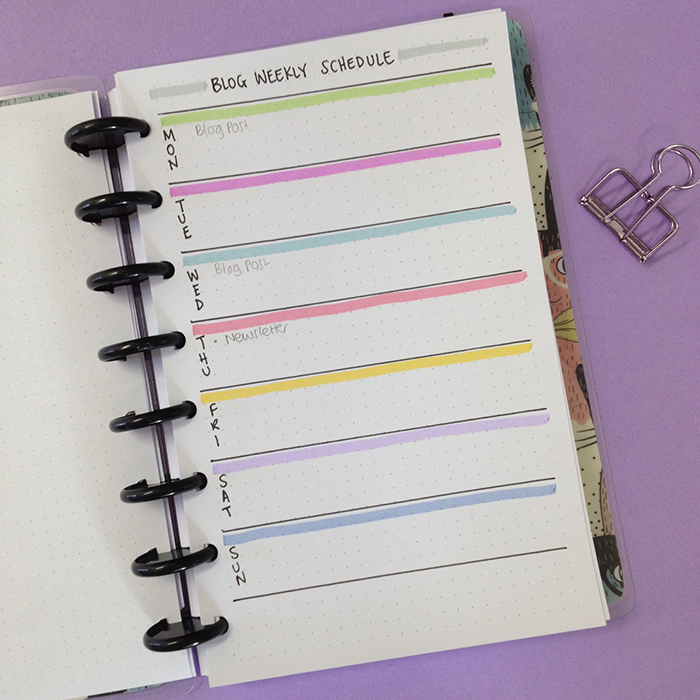
Next comes my Weekly Schedule. This is a page where I want to plan general actions i.e. how often I upload a post, or when I send my Newsletter etc. It is a schedule so that there is a program of my actions which helps me stay on top of things.

The next page is my Brain Dump page - because every journal needs one! This is a catch it all page for everything I need to remember that doesn't have a specific page for it. :)
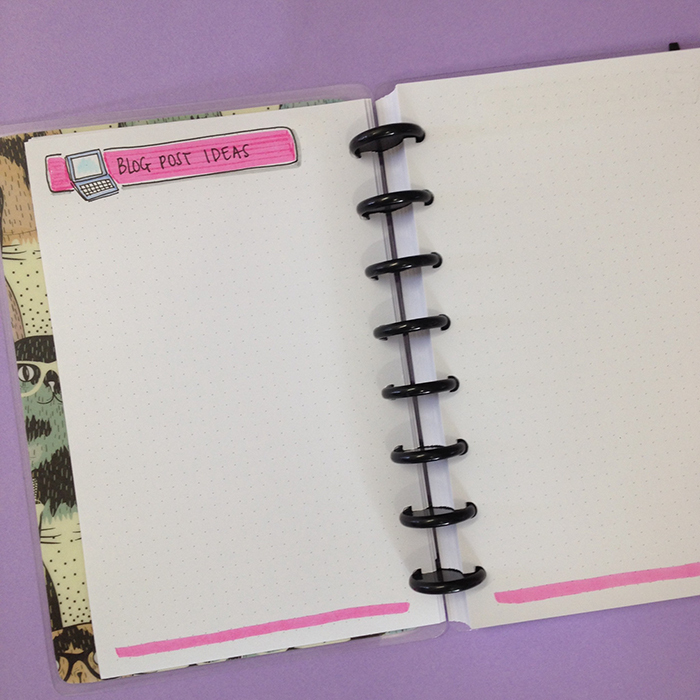
Then we move on to the Blog Post Ideas spread. I have so many ideas for blog posts that I need to keep a list of them and tick them off as I go along. What I like, is that I can always add pages when these ones are filled up.
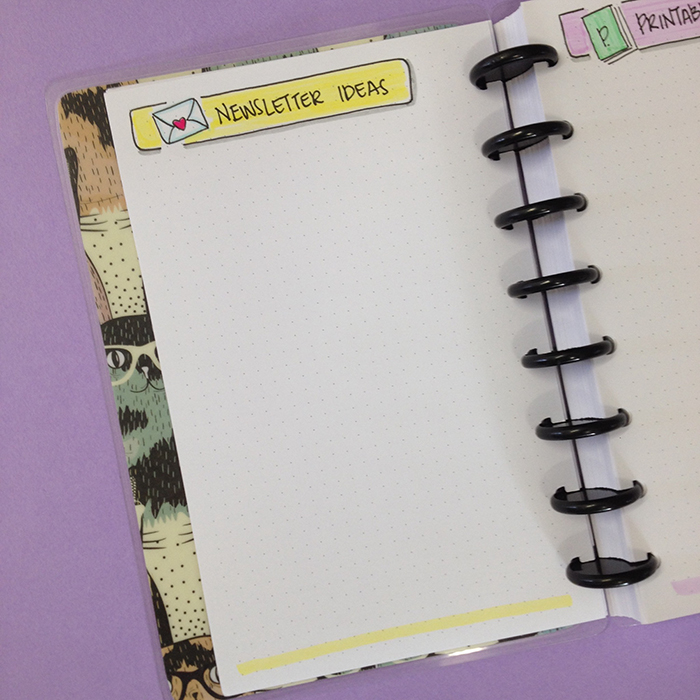
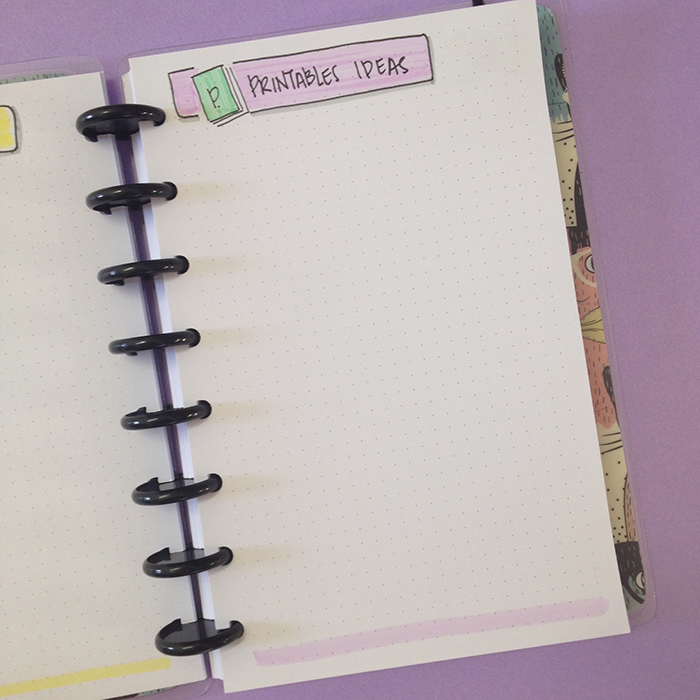
Then comes a page for my Newsletter ideas and one for the printables I want to create and share with you.
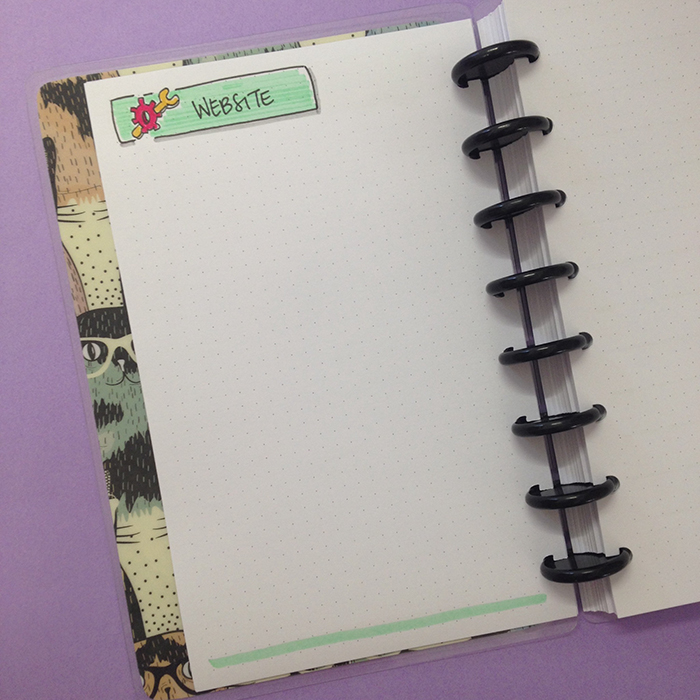
The next spread is about my Website's Maintenance. It's the things I need to do on it aesthetically, or if I want to add a new page, and generally any changes I want to make on it will go on this page. So, when I have the time I can come here and see what needs to be done.
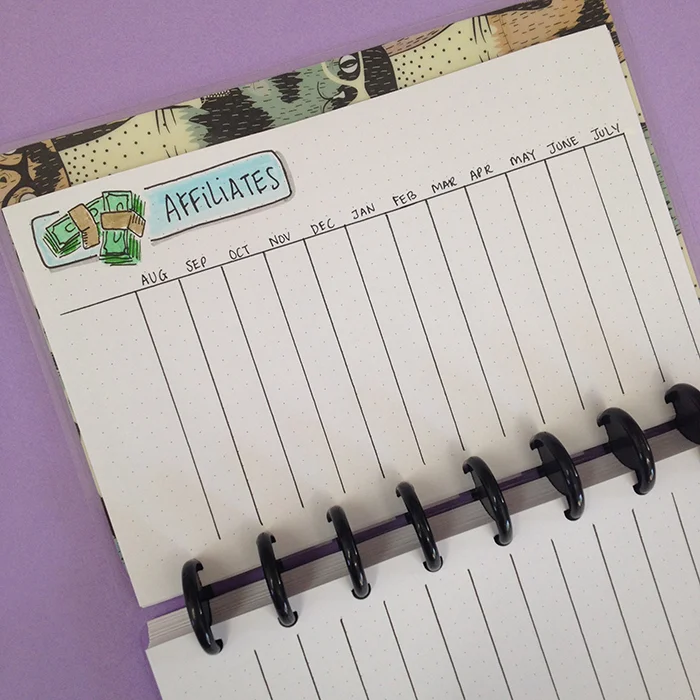
Next comes my affiliates page. I like to keep track of how much money I make from each company/website I'm affiliated with. So, I created a table with all the months and a long list on the left hand side to write the names of the affiliates.

The next page is a very important one. It has all my blog's statistics. Every month I like to keep track of page views, followers and generally everything that shows me how my blog and my social media accounts are doing.
In the other pages I keep my Finance Spreads as well as my Monthly reviews.
I love how everything turned out and as I mentioned before, I really like the flexibility of the disc bound notebook.
How about you? Do you keep a separate bullet journal for your business or school? Do you have a blog bullet journal? What other pages have you added? Share with me in the comments below ;)
Visit Jane's Agenda Website and use the code CHRISTINA10 to get 10% off. This is valid for one use per customer.


Monetize Your Blog: Boost your Amazon Commissions with GeniusLink
I've mentioned in a previous post that I'm affiliated with various online networks and platforms in order to monetize my blog. A big part of my monthly income comes from my Amazon Associates commission. When you are an Amazon Associate, then if someone clicks on your link they are transferred to Amazon and you get commission onall the purchases they make within 24 hours. That sounds really cool, but there is a slight problem.
When having a blog with a worldwide audience, trying to monetize it through Amazon can be a bit tricky. That's because you can only link to one Amazon Store at a time. If for example, a visitor from the UK clicks on your Amazon.com link, then they will be redirected to the 'wrong' store, and you'll lose your commission. So, you'll either have to chooseone Amazon store(based on where the biggest part of your audience comes from), or you canadd various links in your post (from more than one Amazon stores), but that can be time consuming and it doesn't look particularly good towards the people that visit your site. But don't fret my friends! There is a solution - GeniusLink!

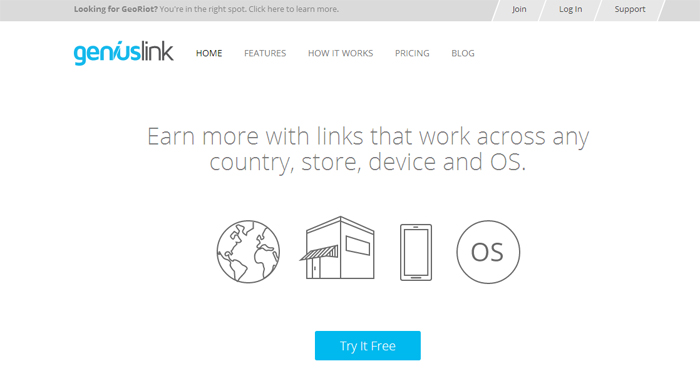
GeniusLink
is a link management platform that can provide a solution to this problem. It lets you convert any Amazon link into a universal link, that detects where a visitor is from, andthen forwards them to their own national Amazon store -with your affiliate link included-GENIUS! (excuse the pun) It also works with iTunes.
To use their service, you only have to register - which is free and only takes a few minutes. Click here to get started.
You'll be asked to enter your login information, verify your account and add your payment details. Don't worry, it's free for the first 14 days and you can close your account any time you want.
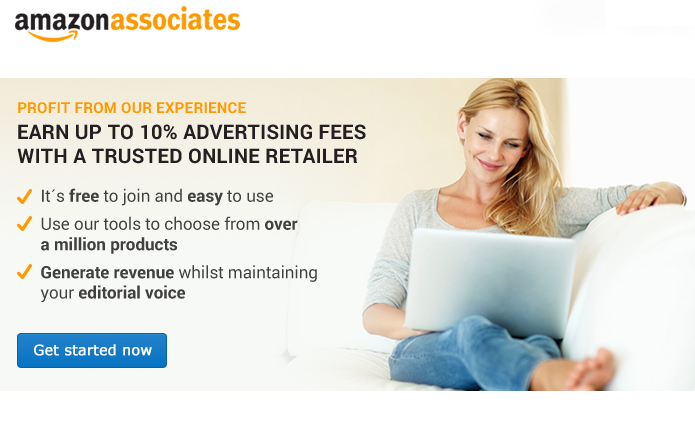
The next step is to enter your affiliate information, so you'll need to have applied for an Amazon Associate account in all the countries that most of your audience comes from.
You only have to look at your analytics to see your pageviews by countries, and then apply for those Amazon stores to become an affiliate with. For example, I've applied for the Amazon Associates in USA, UK, Canada and Germany. However, I've noticed that lately, I have lots of pageviews from France as well, so I'm planning to apply for that Amazon Store too. ;)
The analytics
is one of the best parts that this service provides. You can see how many people have clicked each link and when, analytics about countries etc. It also lets you know if you've got any clicks from other countries, that you have not established an affiliate code with their Amazon store yet.
You can also personalize each link, giving it your own title, and organize your links into groups, so that you can track data from different places. For example, you can create groups per post you publish, or separate your website links from your facebook links and so on.
Now, if you're wondering how you're going to change all the links in all your blog posts and in your websites that you've already added, to the new genius links, don't worry because they have a solution for that too! If you're using WordPress then you can download an Amazon Link Engine Plugin to automatically convert every link into globalized and affiliated links. If you don't use WordPress, then you can get the JavaScript Snippet that has the same functionality but goes straight into your source code.
The service is free for the first 14 days and after that you'll get charged a small fee per month. Click here for more details.
I have been using the GeniusLink for some time now and I have noticed a considerable rise in my affiliate commissions during this period :) And that is only going to get better and better the more Amazon stores I add. Plus with Thanksgiving and Christmas around the corner, GeniusLink is the tool to have. I promise you won't be disappointed. Just give it a try :)
If you are serious about monetizing your blog then GeniusLink is a tool you must have. For more information, visit their website www.geni.us
If you have any questions, let me know in the comments below. ;)


Blogging Resources

Today's post is going to be all about blogging and all the resources that I personally use for my blog.
BLOG PLATFORMS
BLOGGER - Free hosted blogging platform owned by GoogleI've been using it for years now, I'm well acquanted with it and I know how it works. I love how easy it is to create a blog in just minutes, plus it's free :) Once my blog gets even bigger, I'd like to switch to Squarespace cause I love their themes and all the added things they offer.
DOMAIN PROVIDERS
123-REG - Easy to use domain provider.I love it because you can find domains for any type of business and for any country you want.
WEBSITE TEMPLATE
ETSY - Beautiful website templates at low cost.No matter which platform you're using, Etsy is the place to find beautiful blog themes for resonable prices. You can even ask for custom designed themes from the designer you want.
TOOLS FOR GRAPHIC DESIGN
CANVA - An online graphic design tool, great for creating graphics for social media.PICMONKEY - Anogher useful tool for creating visual content for your blog and for editing your pictures.
ADOBE PHOTOSHOP ELEMENTS - Photo and Image editing software that I use for my blog photos.
SOCIAL MEDIA MANAGEMENT
HOOTSUITE - A social media tool that helps me plan, organise and schedule my day to day social media interactions on Twitter and Facebook.BUFFER - Another social media tool that I use it only to plan and schedule my Instagram posts.
BLOG MONETIZATION
CREATIVE MARKET
ZANOX
SKIMLINKS
COMMISSION JUNCTION
AFFILIATE WINDOW
GENI.US
ONLINE STORAGE
DROPBOX - Online storage solution that automatically syncs with your computer (free up to 2GB). I'm using it to share all my free downloads in the Resources Library with you :)IMAGES
SNAPSEED - This is the application I use to edit my images for instagram.UNSPLASH - Great website for free high-resolution photos.
FONTS / GRAPHICS / TEMPLATES
CREATIVE MARKET - My favourite place to be online! You can find some amazing fonts, and bundles of fonts and graphics for some unbelievably low prices. Plus every Monday you get 6 Free Goods!THE HUNGRY JPEG - Another similar site with lots of fonts, graphics, templates etc. They offer one Weekly Free Good.
PODCASTS
SOCIAL MEDIA MARKETING PODCASTONLINE MARKETING MADE EASY WITH AMY PORTERFIELD
SMART PASSIVE INCOME PODCAST
ACHIEVE YOUR GOALS WITH HAL ELROD

Blogging with your Bullet Journal
Back in June I decided to create a separate Bullet Journal that would be dedicated only for my blogging. I remember that I used to have second thoughts, of whether I will be able to have 2 bullet journals and manage to keep on top of them. Plus I didn't know whether I should have a daily spread on each one, or if I should have only one combining the two. Well, after having two bullet journals for almost 2 months now, I can show you how I made everything work for me. So, here's your chance to have a look into my blogging bullet journal ;)
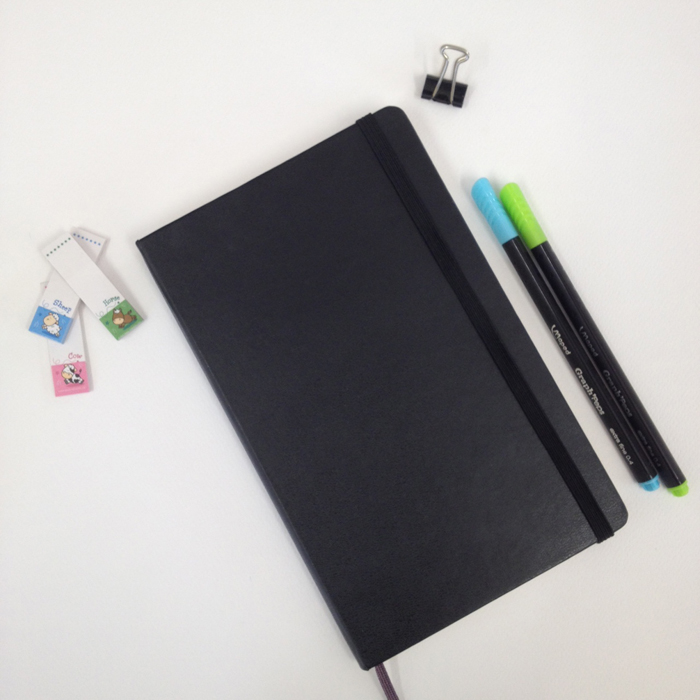
I've chosen a Moleskine Dotted Notebook in black. It has 240 pages and it's dimensions are 13x21cm. I have a post comparing it to the Leuchtturm1917 here if you're interested. I am not overly artistic in this bullet journal but I try to keep it neat and functional.
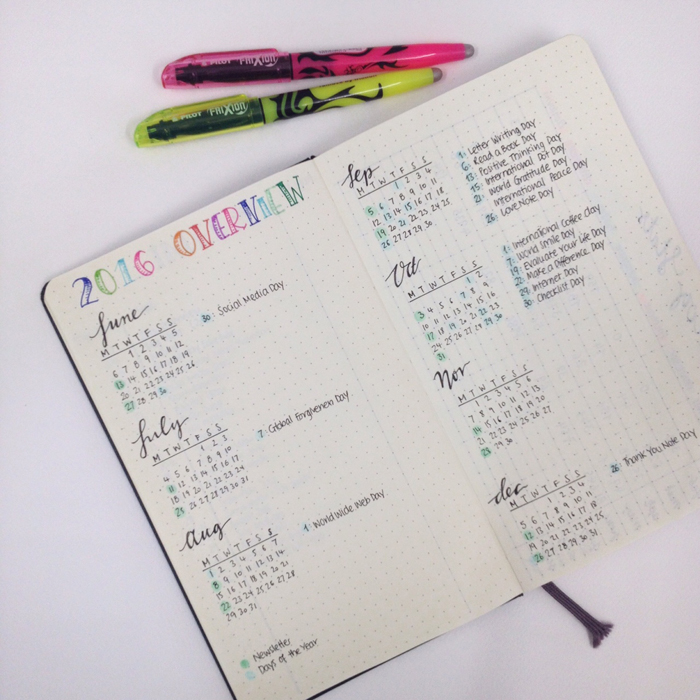
My first spread is a 2016 Overview. It starts from June, since that's when I started using this bullet journal. Here I note down some important dates, like the days that I send my Newsletter, or any other days of the year that are interesting to mention on social media, or that could inspire me to create interesting posts or spreads about.
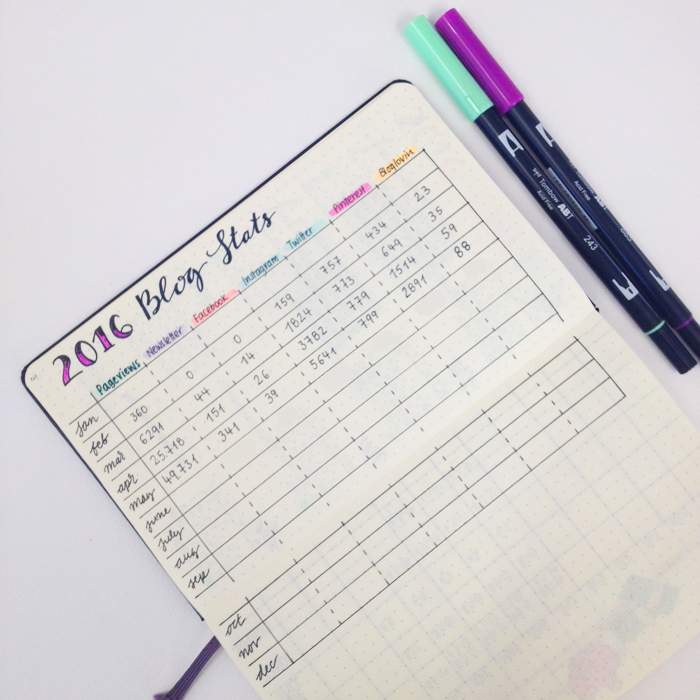
Then we move on to my Blog Stats. I like to keep track of my progress across my blog, newsletter and all social media. It helps me to be focused and motivates me to try harder.
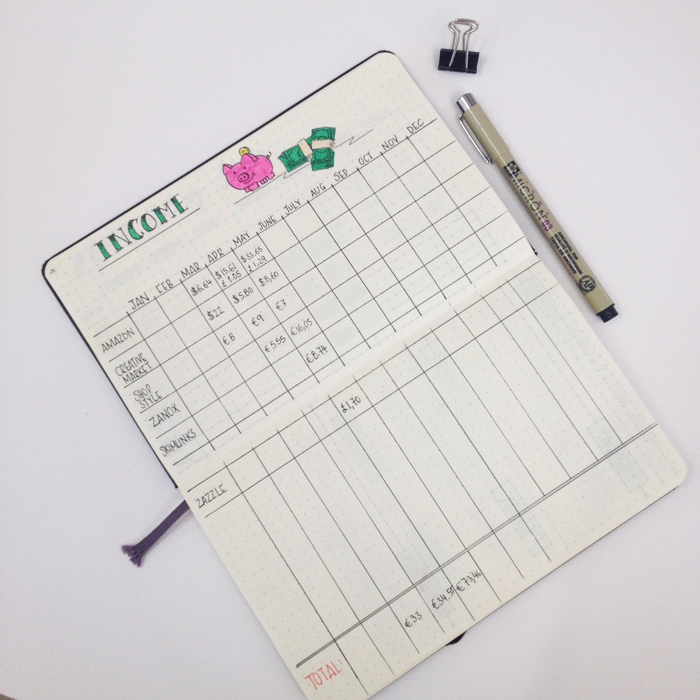
The next spread has to do with any income I make through my blog. I use affiliation links in my posts for various products and sites. They provide me with some pocket money each month, that helps me pay any expenses for my blog. If you're interested in how I monetise my website, please let me know in the comments below, so that I can make a post about it. ;)
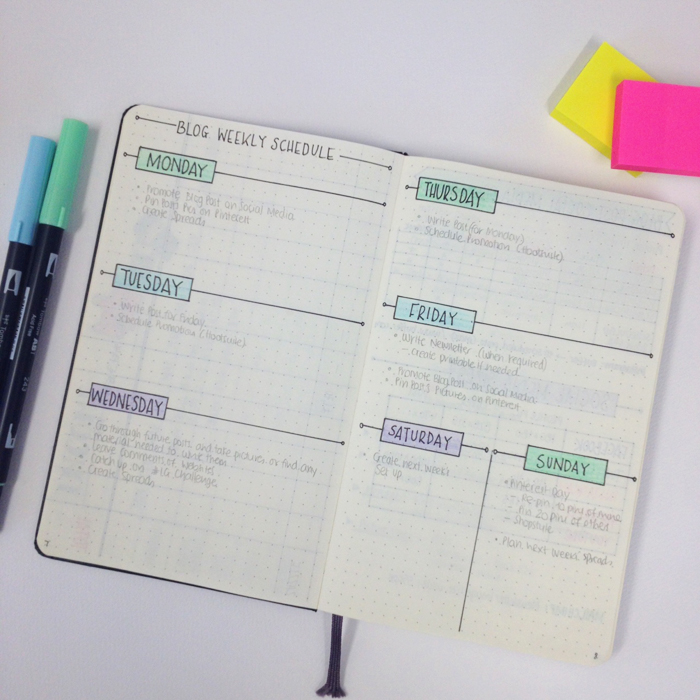
Then I created a basic weekly schedule for my blog. It helps me stay focused, but I don't necessarily follow it as it is every week. Things happen that might not allow me to have a set schedule all the time. However, I like to have a basic plan like this, so that I have a form of structure no matter what happens in my day. I still have it in pencil, since I'm not 100% sure about it yet... Keep moving things around ;)
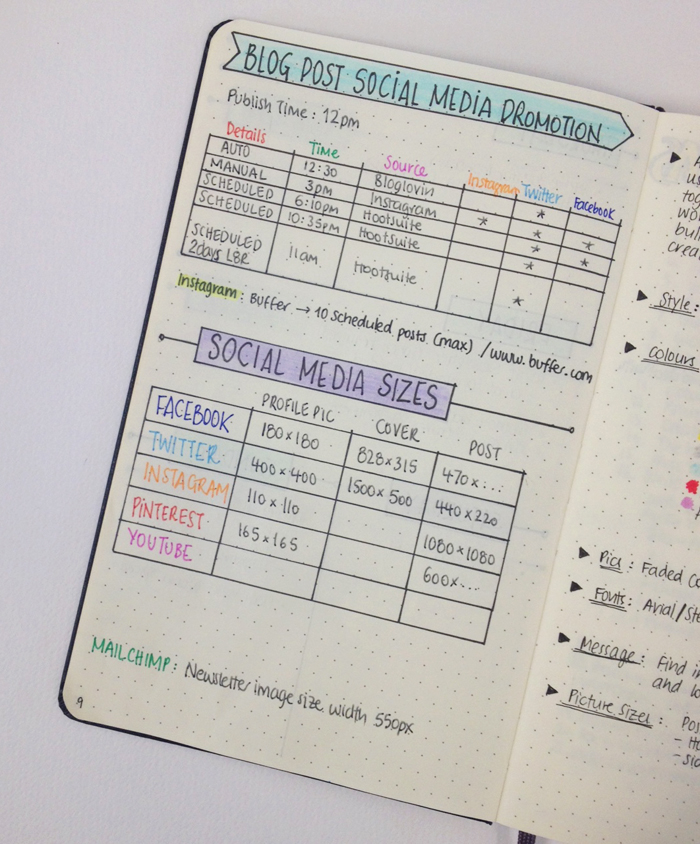
The next page has to do with social media. The top part is my promotion schedule for each post. I tend to promote each post 5 times in different times and days. So, I've created a schedule in order to plan my promotion strategy. I tend to use Hootsuite and Buffer (for Instagram).
The bottom part is a table with all the social media sizes. It is very helpful when you are creating banners or post pictures that you want to promote on different social media, where each one has different post sizes.
Note: The table shown above is a bit out of date and I'm going to change it very soon! ;)
I've created a free printable with all the social media sizes for you to download, which is already added in the Free Resources Library.
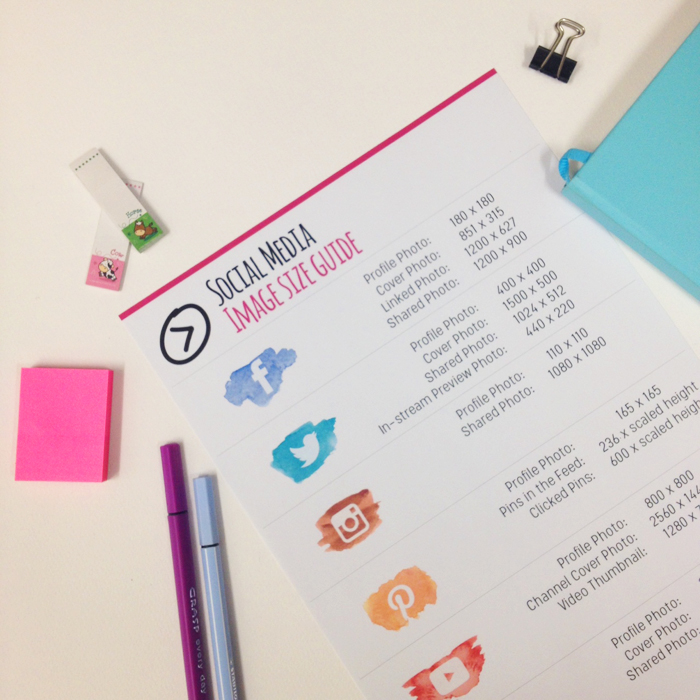
Click here to join the Newsletter and get access to the Free Printable and the Resources Library.
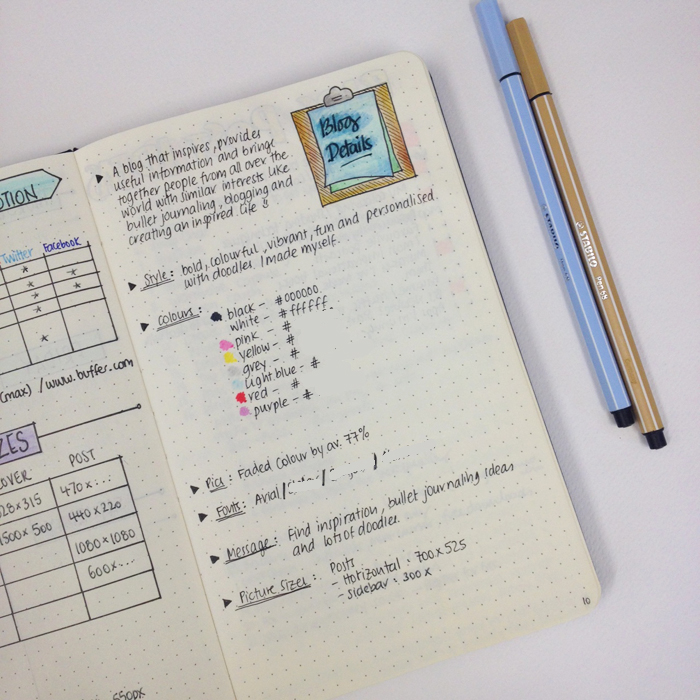
Moving further, I've created a page with all the information regarding my blog. That includes a description of what my blog is all about - sort of like a mission statement - my style, the colours I use, my fonts and the picture sizes I use on my blog (post, sidebar, pages etc.).
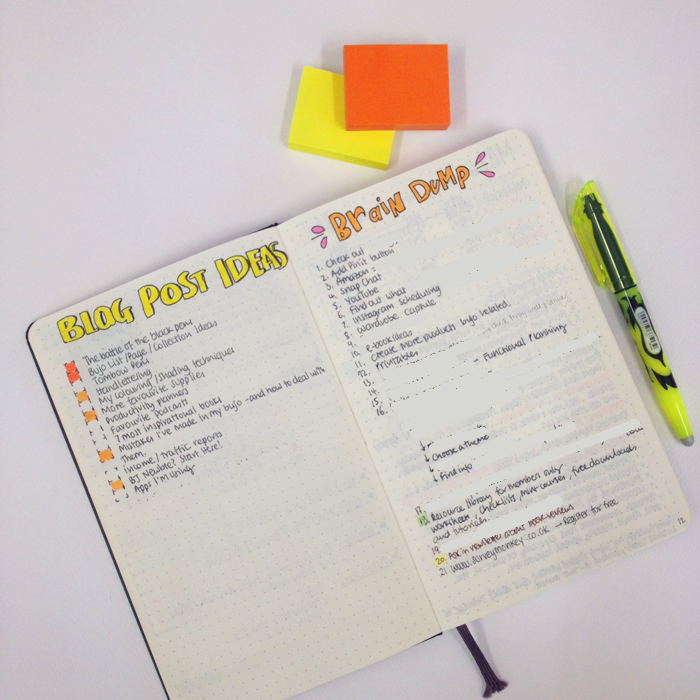
I have a list of blog post ideas, where I list any posts that I'd like to do in the future. It's very helpful as well when you're out of ideas and don't know what to write about. I also have a brain dump list, with all the things that I'd like to do, regarding my blog when I get some free time.
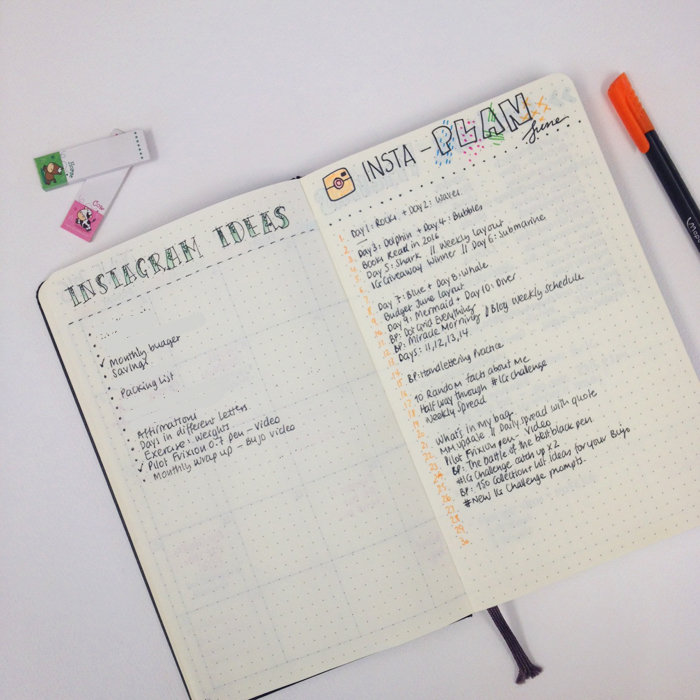
I have a spread dedicated to Instagram. On one page I write any ideas that I'd like to create and post a picture about on IG. And on the other page, I have my Insta-Plan spread that I create each month. Here I like to write down what I post each day. Sometimes I use it to plan my uploads from before. But really, I like to see what I post each month. At the end of the month, I write down next to each post the number of likes it got. This way I can see which are my most popular posts, and what my followers like to see me create and post most.
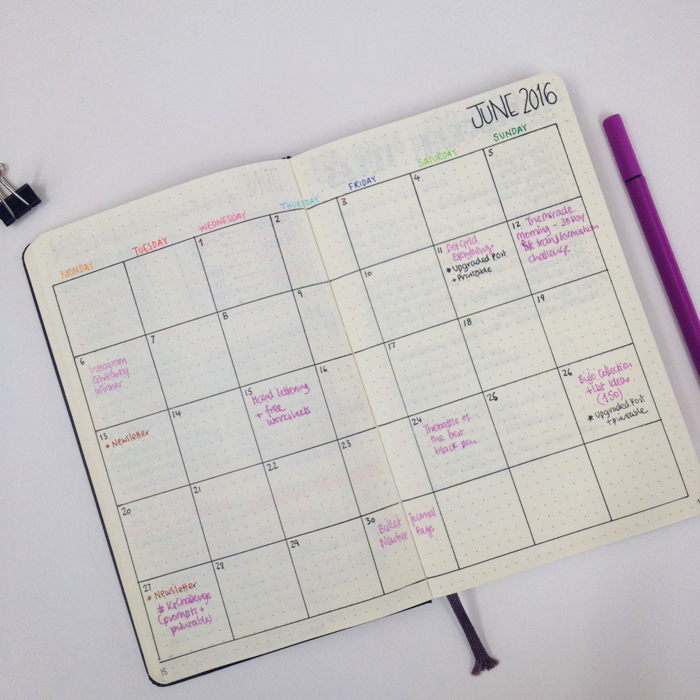
I create a month at a glance spread for each month. It is dedicated to plan my posts and my newsletters. Usually I plan all the posts for the month at the end of the previous month. However, I write everything in pencil, because I tend to change my mind or move posts around. Once a post is actually uploaded, I note it down in pen.
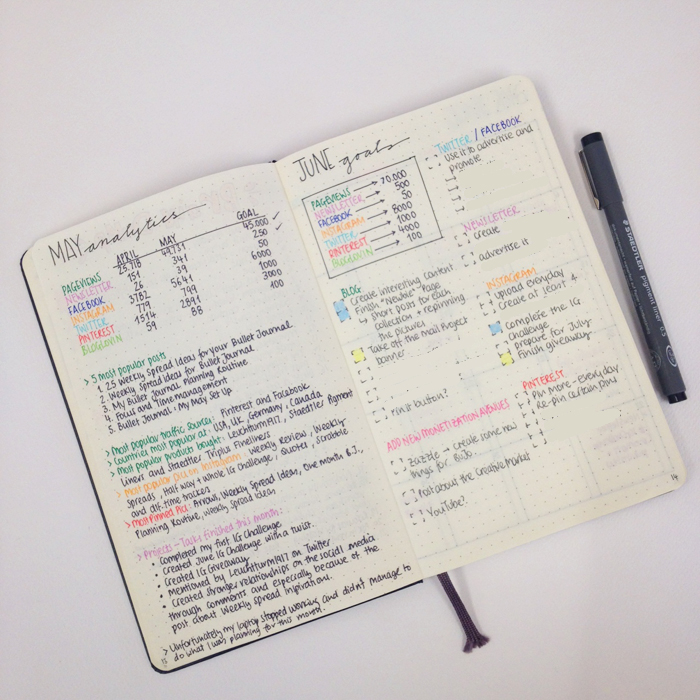
Last but not least, I create a previous month analytics for the month that just ended, and then I have my monthly goals for the month that just started. In my monthly analytics I note down all my statistics, my 5 most popular posts for the month, most popular pics on Instagram and Pinterest and all the Projects/Tasks that I finished this month. In my monthly goals I set targets for my blog and all the social media, and then I set projects/tasks for each one as well.
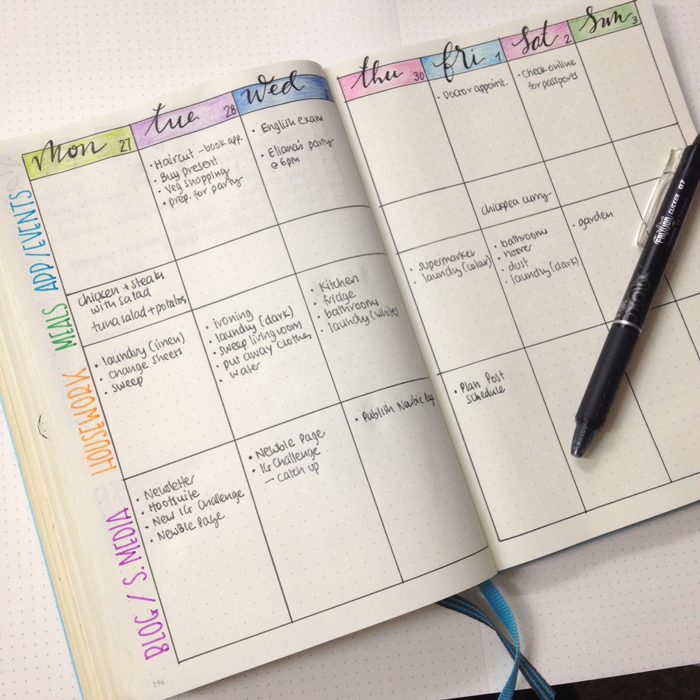
I decided to have one weekly spread combined with my personal and my blog related to-dos. I find it's better to have everything in one place. I tend to change my weekly spread around, depending on what is more important for each week, so I don't have a standard set up. In the picture above, you can see one of my weekly spreads to get an idea. :)
So, there you have it. That's how I use my bullet journal for my blog. What other spreads do you create for yours? Do you prefer to have separate bullet journals - one for your personal life and one for your work, or not?

How to Optimize Images for Twitter

In order to create the best blog post, you should combine excellent content and equally amazing images. Pictures are extremely important. Eye-catching graphics and photos are one of the best ways to catch the attention of your followers on social media and to also attract new audience to your site from Instagram, Pinterest, Facebook, Twitter etc. When you post high quality, original images, there's more of a chance that they'll be repinned, retweeted, or/and shared. That means more traffic driven back to your blog.
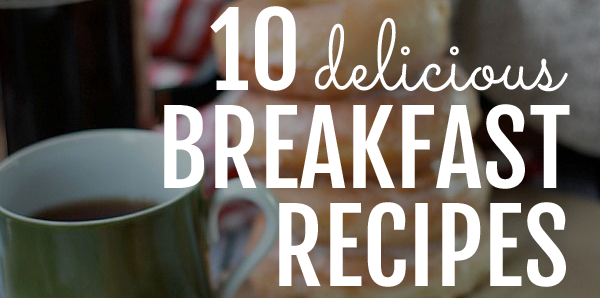
When you post an image on Twitter, it shows a preview right in your feed without having to click on any links - which is quite cool. However, the in-stream preview is a section of your image that Twitter automatically chooses to display.
Twitter’s in-stream preview is 440 pixels wide and 220 pixels tall (a 2:1 ratio).
That means that if your image's dimensions are not of a 2:1 ratio, parts of the top and bottom of your image will be cut off.


Mmmmm.... not ideal if you ask me! You can still see part of the delicious donuts, but I've completely lost my text which is very important to show what the post is all about.
So, how can you optimize your images to look good in the Twitter preview?

There are a number of ways to make sure that the in-stream preview doesn’t leave out the best parts of your picture.
- Make sure your image dimensions are a 2:1 ratio.
Even though that solves all your problems and all of your image will appear in the in-stream preview every time, however it can be quite restricting in the case you ever decide to use a portrait or a square image.
So, in that case you should:
- Pre-figure what will show in the in-stream preview.
You can easily do that by following these steps:
Find the center of your image.
Find the 2:1 ratio of your image, in other words the dimensions of the in-stream preview.
To do that you'll have to divide your width by 2.
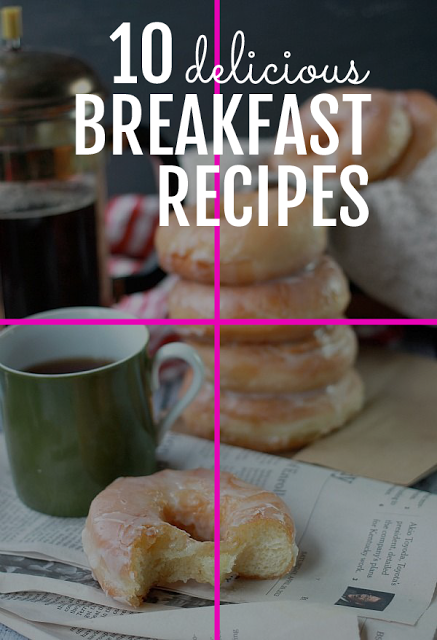
So for example, the dimensions of the image above are 600x878. If I divide the width (600) by 2 then the 2:1 ratio of the image shown in the preview will be 600x300.
That means 150px above and 150px below the horizontal line that crosses the center of your image.
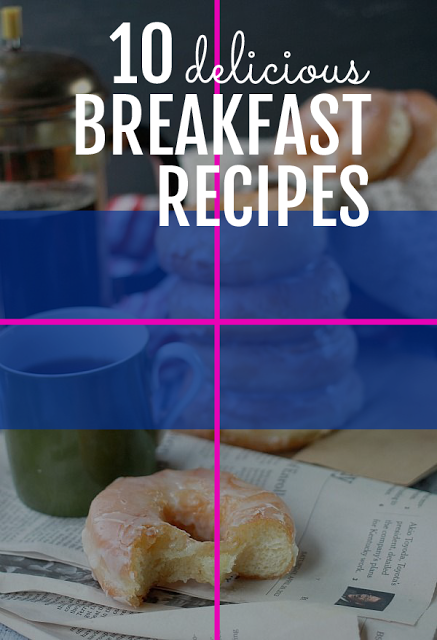
What I like to do, is create a new layer with the dimensions of the in-stream preview that I've just calculated and place it on my image. I usually choose a nice vibrant colour, but I like to also make it around 55% opaque so that I can still see what part from my original image will be shown.
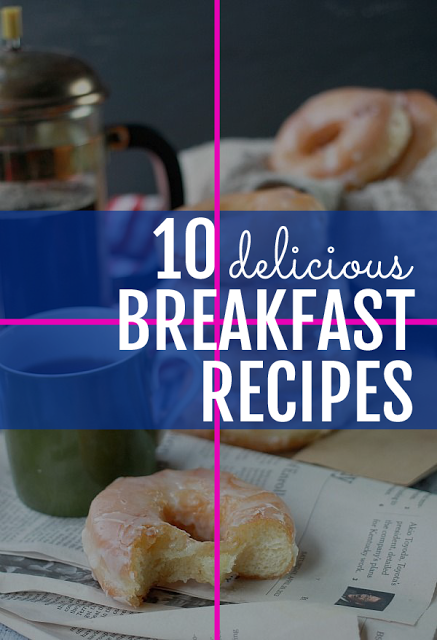
Then I move my text around so that it falls in the blue rectangle. At this point I might have to do some adjustments in size or change the font depending on the image.
Finally, I remove all the lines and the blue layer and I'm left with the perfect image for my post that is Twitter optimized!
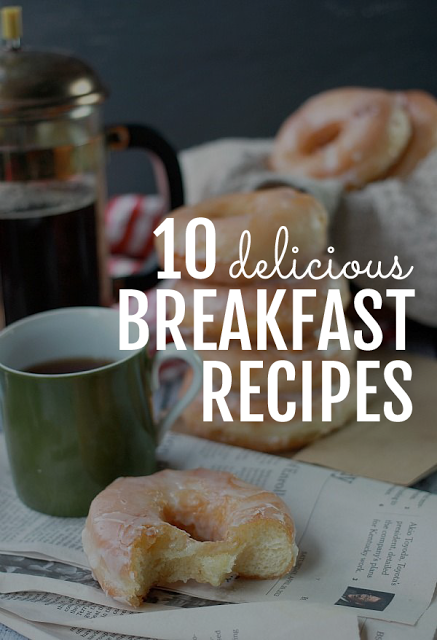
Now, when I post this image on Twitter I get this:
Which is a million times better than what I had before!


Images: 1 // 2